O Gauge Modelling on the GWR
A personal Journey
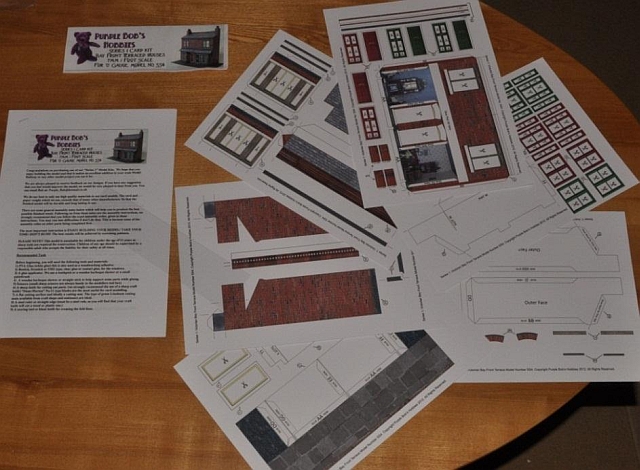
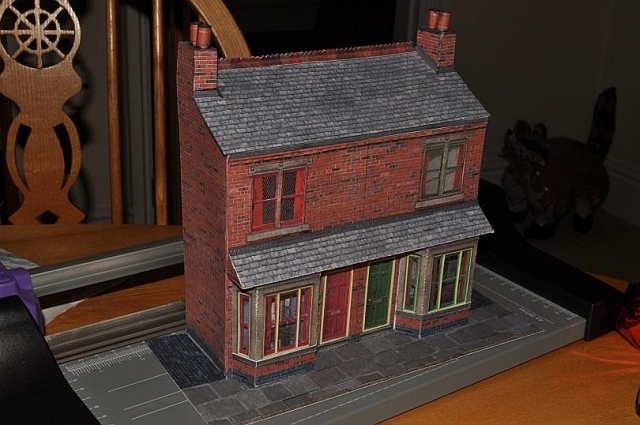
Purple Bob’s Hobbies: Bay Front Terraced Houses
I came across this company on eBay. They have several O gauge kits of houses, a shop and a cinema on offer at the moment all priced around £10. Their intention is to include more kits in 2013 on a new website and a pub kit is shortly to be released. I bought three of the kits and have made up two before writing this article. They already take pride of place on my large O gauge layout and definitely look the part.

The card kits include comprehensive assembly instructions and everything you need to know to complete the model. The instructions are clear and well written and include guides and hints during the build. The kit which is printed onto what at first appears to be thin card is well thought out and all parts are clearly numbered, all tabs are easily identifiable and this makes building the kit a joy.
The card, as mentioned, appears not to be very robust, but when the kit is completed using its structural support framework and some clever folding, it makes up into a sturdy finished article, as such it is the correct thickness and this means edges of window frames and doors is not over size as so often happens with other kits on the market. The quality of the prints is to my mind first class. The colouring is just right and the accuracy of the prints is first class. Extra touches to the windows such as back scenes for rooms is also a boon and suggestions on making that part of the kit as realistic as possible is good.
As I have already mentioned, in each kit there are several pages of instructions and hints and tips on making the model, several A4 cards on which the kit is printed, and acetate for windows.
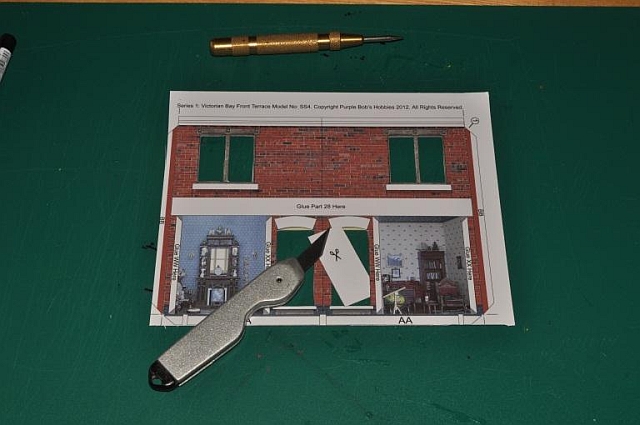
You only have to provide PVA and contact adhesive, sharp cutting knives and a scoring tool, a cutting board and a steel rule, (and I use pencil paints for edge colouring and long nose tweezers to bend scored edges and apply small pieces). Which means you could build the kit on the dining room table.
The instructions are divided into several sections. Emphasis is placed on scoring folds to make them as accurate as possible, edge colouring and gluing and pressing flat anything built so far. This is an essential part of any model making activity and makes for a successful and satisfying conclusion.
The first sections of construction deal with the front wall of the building being assembled.
The doors and their panels are cut out and assembled. The brick arches and sills are dealt with and glued on the front wall. At this time the door frames are added to the doors.
The upstairs window frames are tackled next, (these are available in two colours), and glazing is also fixed at this stage.
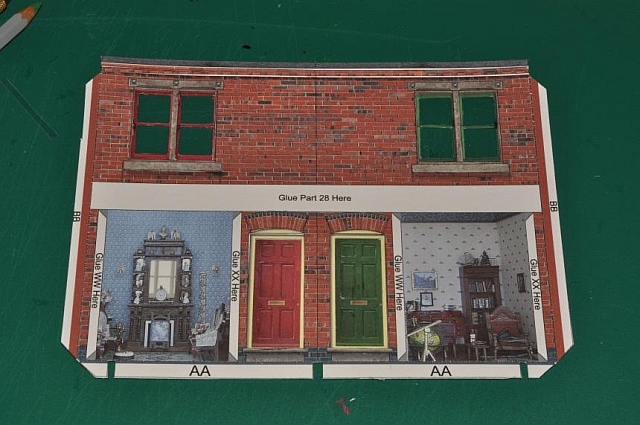
Finally the doors and the windows are fixed to the rear of the front wall. This is then left to dry, (using a weight to keep everything flat is good advice given at this stage).
As this is the Bay window kit the bays are now put together in the same way as the windows. You are reminded that this is the time to fit curtains is well before gluing the bays to the house front! (There are suggestions as to how this might be achieved).
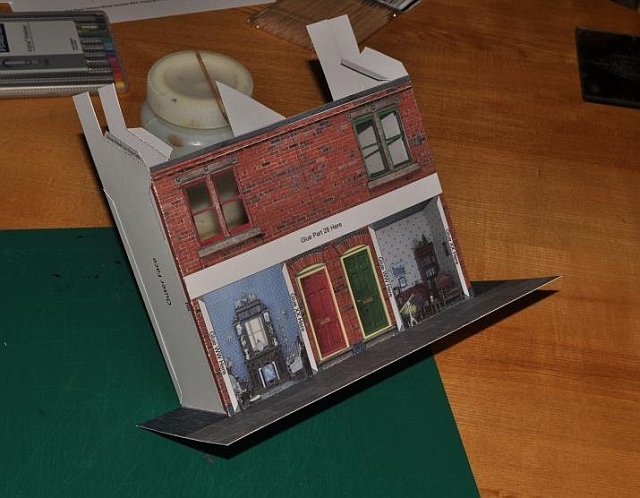
The next section now deals with the support assembly. An important part of the build as it adds strength to the overall structure.

Following on, the base is prepared and the support assembly is now glued to it. Once this has been completed its suggested you have a break to let it set properly, (I found it easier to square up this support assembly by attaching the base first to each of the vertical supports and then finish it off with the structure lying on its back. The accuracy of the tabs makes it easy to keep the whole structure square while it is drying if done this way).
The front wall is now glued into place on the base and the support assembly. The amount of care in squaring up and having neat scored folds is re-emphasised here, (a welcome reminder). This is now allowed to dry.
The end walls are now prepared and glued into place. This is followed by the roof and the roof flashing that fits around the chimney. To finish off the roof ridge tiles are cut out and prepared. Finally the chimney pots are folded up painted and stuck in place.
As this is the bay window model the bay windows should now be fitted. This is followed by the bay lintel and finally the bay window roof piece.
There are plenty of suggestions to help maximise the final look of the model which makes up into a professionally built kit.
For quality, price and ease of construction these models can beat most of the competition and there’s more to come in 2013, can’t wait.
Low relief housing
Purple Bob models
only available on eBay at the moment