O Gauge Modelling on the GWR
A personal Journey
The Slip Coach 3:
Building and finishing the body
The etch of the coach body is to F20 which is similar to E90

The chassis has already been utilised in the first part of this project. Click here to visit the chassis building section. The top and middle sections will now be put to use.
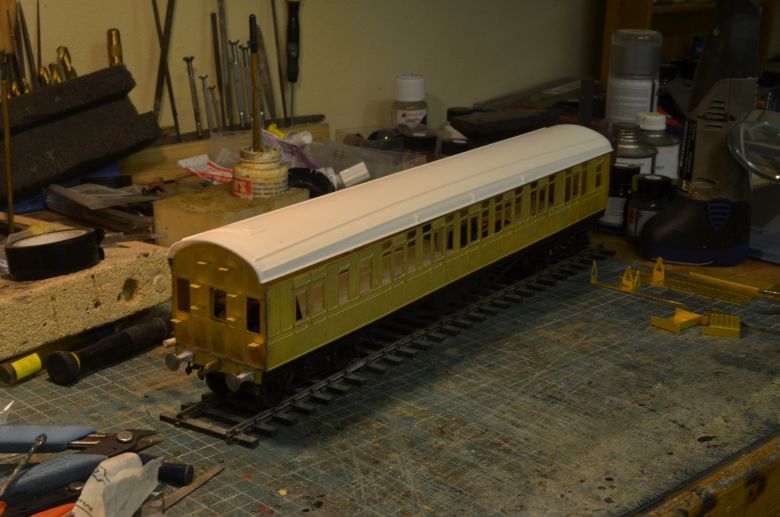
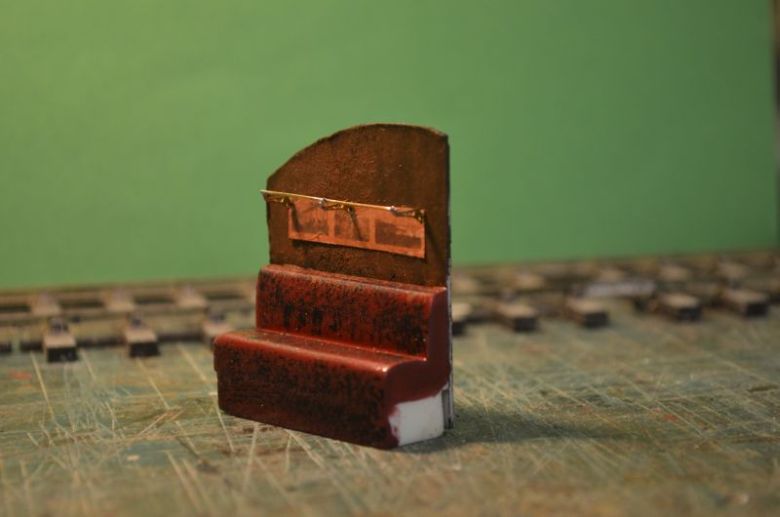
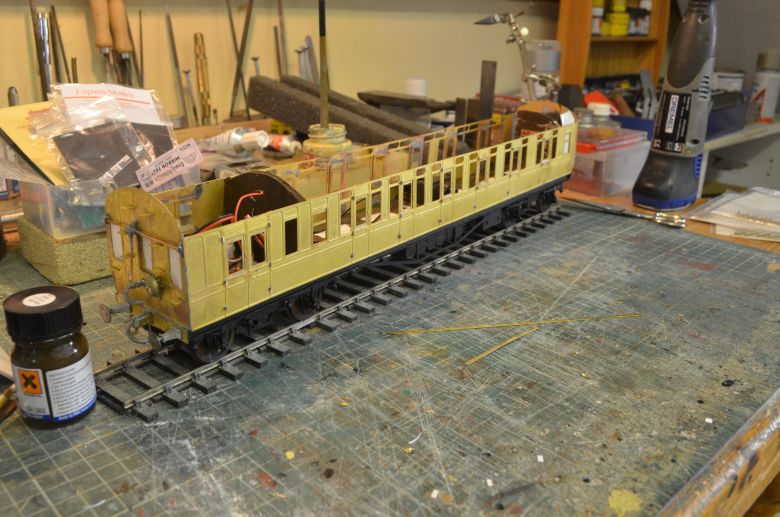
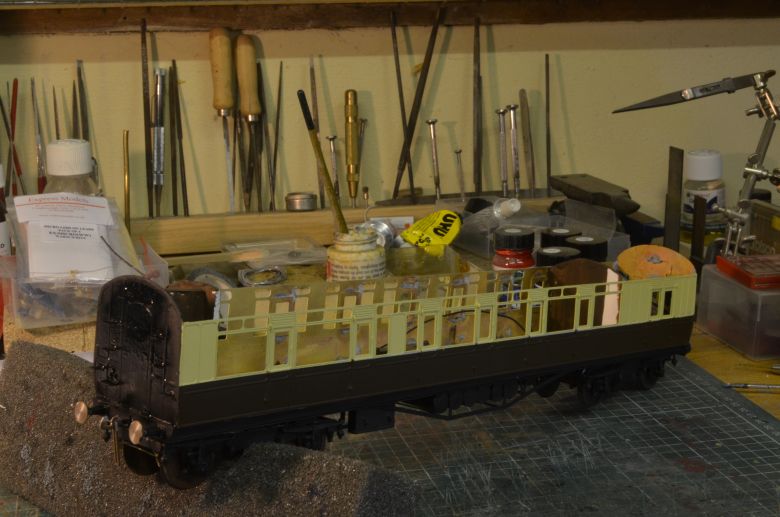
The ends of the coach were put together first, and a middle window cut in the part providing the steps. All the window frames were cut out and soldered to the sides. The ends were soldered onto the chassis first after forming the tumbleholme. The sides were then spot soldered into place to adjust the alignment. Here is a mock up of the body so far. Click the picture for a larger image.
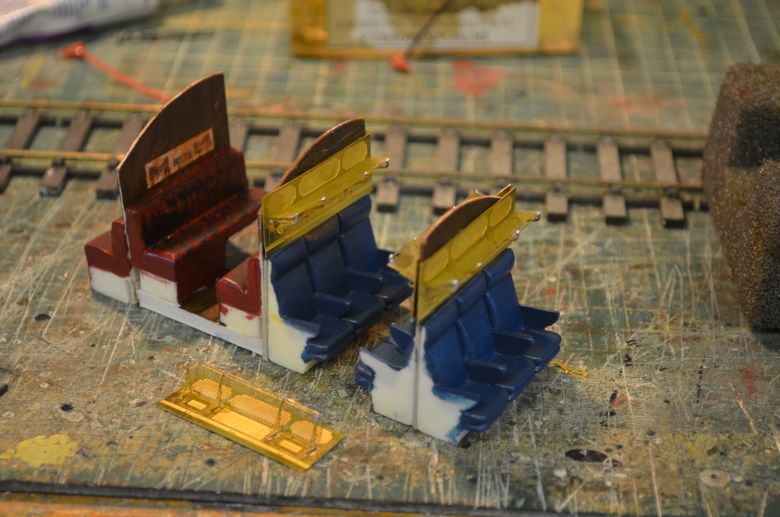
The interior of the coach was made up of resin seats from Invertrain, (see link at the top right of this page in Loco and Stock Detailing : Coach seating).
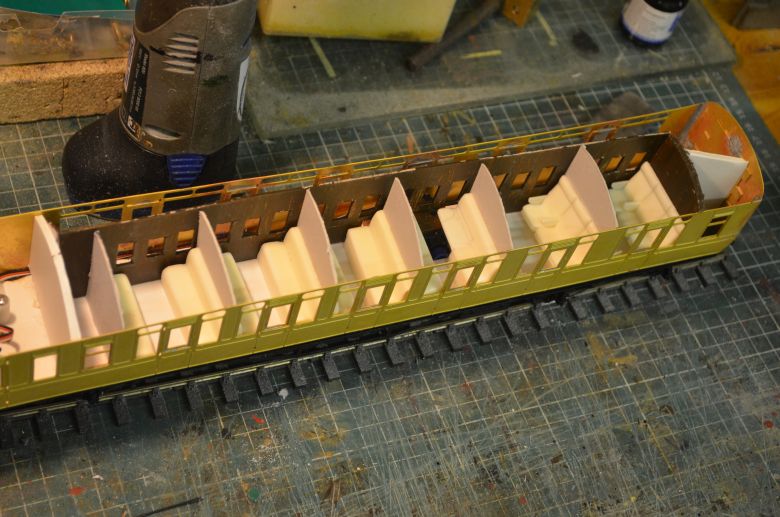
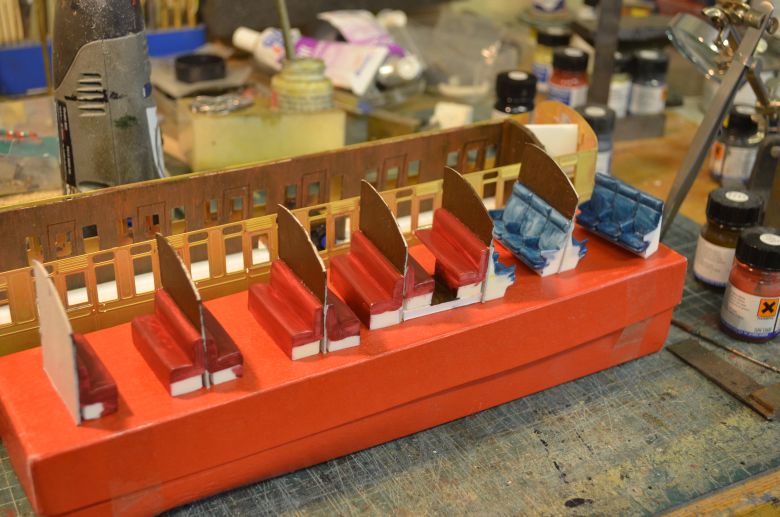
The partitions will be stock Brown dry brushed over with dark rust to give a wood grain effect and the seats will be mottled red 3rd class and plain blue 1st class.
The seats have been given a first coat to identify their positions in the carriage as 1st and 3rd class.
I've also micro-sized some old pictures for each carriage backwall.
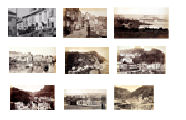
These will appear in 3s above the seats.
It may be a mistake but I have a set of luggage rack etchings. here is the first threesome ready to accept a piece of netting
I may have bitten off more than I can chew here! Its back to CPL as they do a back plate arrangement for GWR 1st and 3rd corridor compartments and these are on order.
A couple of days down the line and the back plates arrived.
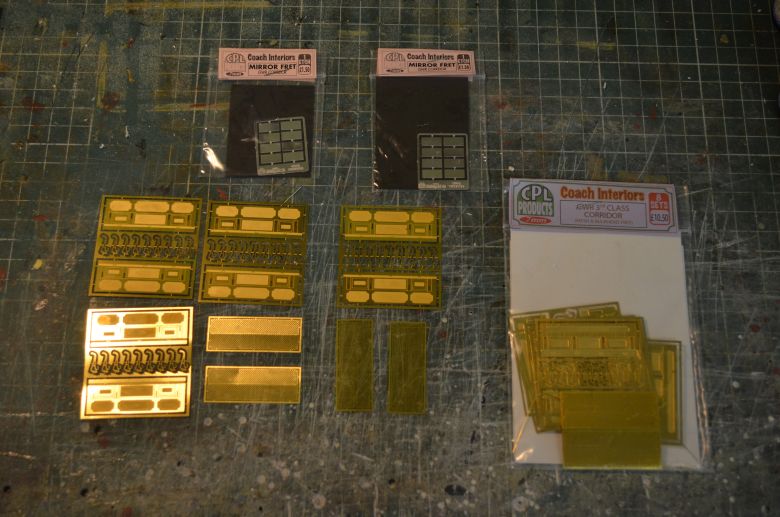
I think my investment is well worth it. the back plate is etched brass. The hangers solder onto it the luggage rack netting is very fine etches and the whole thing looks realistic. I have also purchased mirrors and I can use my micro pictures in the frames to finish them off. Click the above to see a larger version of it.
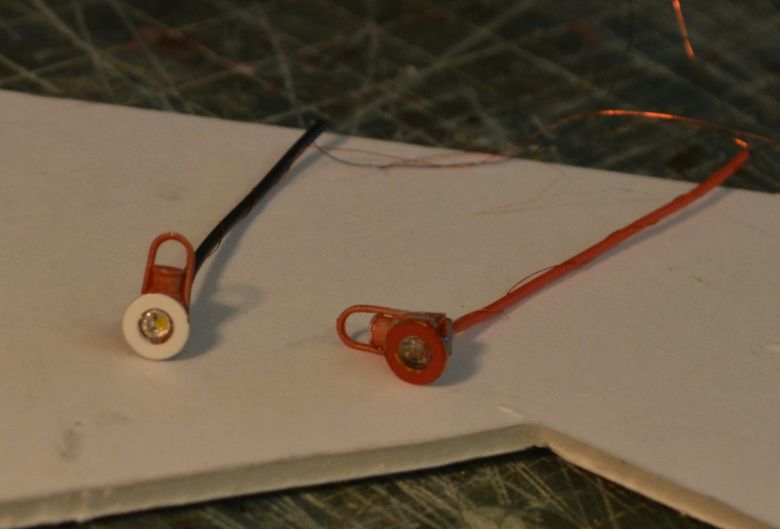
In the mean time I have looked at how the rear warning lights might be handled. Using Springside Models red bodied lights I decided to light them using some micro LEDs from Express Models, (and they are micro see picture below - click the picture for a larger view)
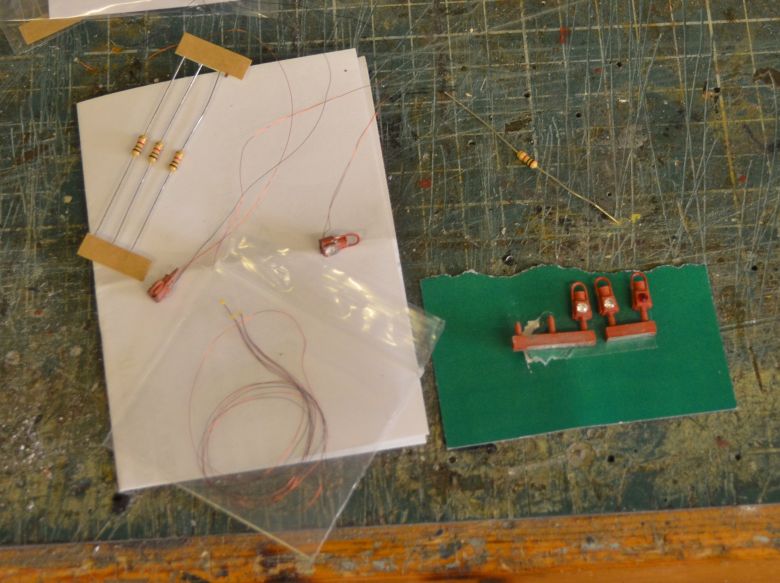
I have prepared two lamps as follows:
First drill a hole through the back using a 0.6mm drill. Remove the gem at the front and file off the rear point so that the LED will shine through the gem once it is replaced. The LEDs come with fine insulated wire attached so feed this through the hole you drilled from the front and secure with superglue. Press the gem stone back on to hold the led in place and allow to set. A resistor, (included), is attached to the coloured wire and the LED can then be lit using a 12-16 volt supply. Two lamps prepared are shown in the above picture.
To aid connection to the roof lights I have made up a simple circuit that the two lamps input to but has only one output of 2 wires.
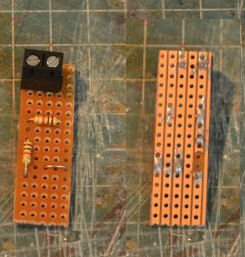
The thin wires from the LEDs can be soldered onto the copper strips. The board can then be secured onto the toilet wall and connecting wires made up from the terminal blocks. Using this arrangement only one strip need be cut.
The CPL backplates do look the part and are not too difficult to put together. Here are some of the 1st class backplates
Click the above image for a larger picture.

Although the above look scruffy, the finish is a dry brush of Brown followed after drying by sticking the mirrors and pictures in place.
Tip:
Soldering these backplates can be made a much easier job if you proceed as follows, (especially if you have a lot to do:
cut out the required pieces from the fret, (an easy job as they are delicately held in place by very thin sprue). Using a small pin vice hold one of the rack supports for one of the ends bottom up and solder it in place by holding the backplate over it, (make sure it is the right way round and fitting properly in its slot in the backplate). Then do the same for the other end. Make sure they are square to the backplate. Thread the supplied rod through the first small hole of one the rack supports, Thread on the two middle supports as you do so. Thread the rod through the second soldered rack support. Solder the rod in place on the two fixed supports. Finally fix the two middle supports in place and solder them making sure they are square to the backplate. All that remains to be done is to fix the mesh in place on top of the supports. I used a small amount of solder on the corners of the outside rack supports leaving the rest of the mesh resting on the 4 supports.
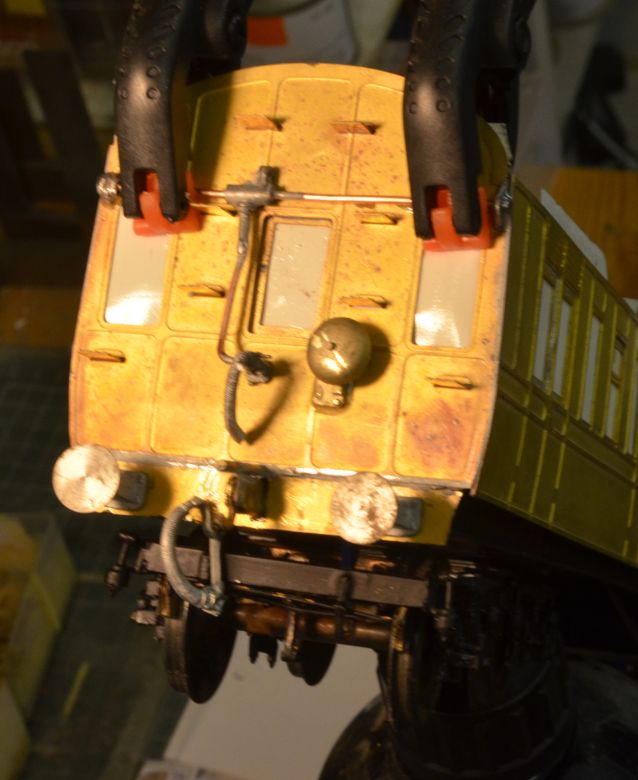
Now for added detail on the front of the coach. To the left of the central window and above it a scratchbuilt piping layout. The windows have been blanked out ready for etch primer etc at a later date.
Just completed soldering the 48 hinges into the coach sides. I should have done this earlier and had intended to use the CPL hinges, but they are so small required bending that I used brass rectangular cross section sprue of the correct size. Holding a length through the hole for the hinge, soldering it from inside and then snipping it off to the correct length.
 Click
the image for a larger view
Click
the image for a larger view
The coach body is now in the paintshop and has received its etch primer coats as shown here. I use U-POL Acid #8 available from Halfords, (see link at top of this page).

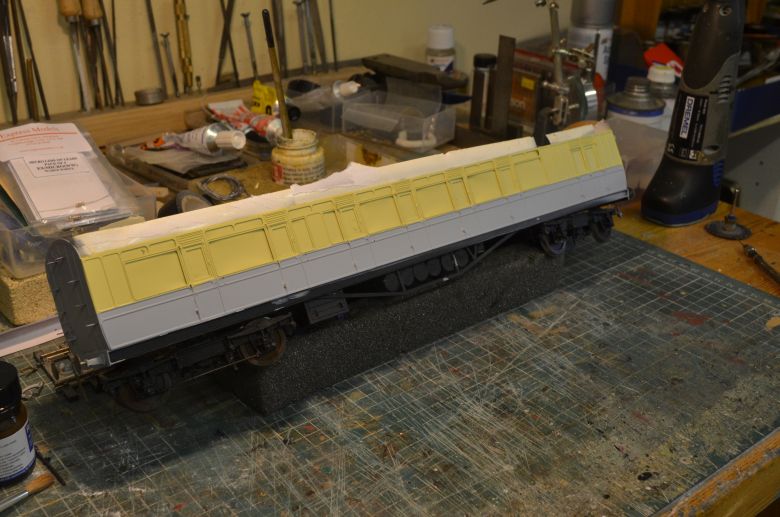
Once the etch primer is well and truly dry, its time to apply the top coats. First I masked off the coach sides and applied Railmatch GWR Cream. The central hinges of the doors come just in the midway section of the body, so masking was done with the 3M scotch brand #218 masking tape slit to accommodate them. Here is the coach after both sides had been sprayed cream.
Here is the coach on the second run putting brown on the lower sides of each coach. Masking is a little difficult as the middle door hinges come just in the wrong place. A small nick in the masking tape which is applied in several small pieces instead of one long piece seems to work ok. The fan aids drying and on a hot day blows warm air over the coach. The aerosol is used passing over the body three times in each direction and then allowed several minutes to dry or at least until it has dried a matt finish.

More on the rear warning lights. To create the discs over the lights I used two brass washers painted the requisite colours. To help me remember which was which I used black and red wire tube as shown here:
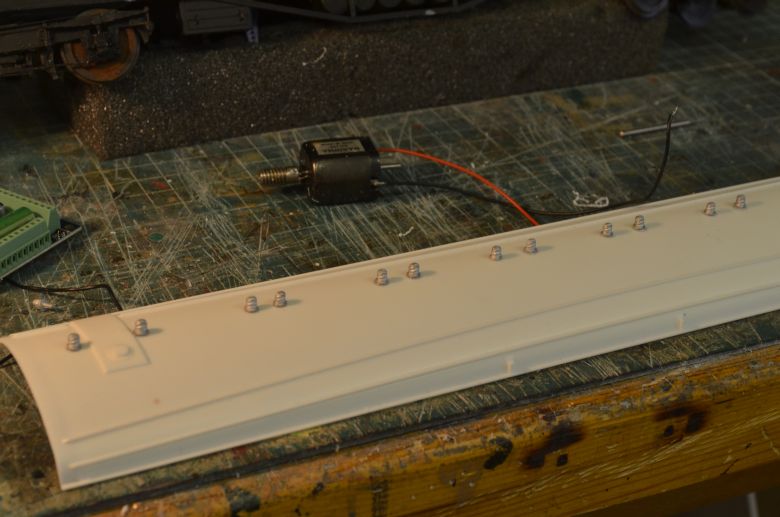
The roof needed its ventilators so a pack from JPL Models was ordered from Invertrain was epoxyed into place, as shown here.
The sides and ends have now been painted as well so the final touches can be applied, (the window frames, then handles and finally transfers before a coat of matt varnish is applied to seal it all together. The last items to be fixed in place will be the rear warning lights which will be connected up to the roof lights.
Update on the rear warning lights:
I've had major issues with the micro LEDs so much so that after a
second set of lights blowing I've decided to keep them cosmetic as
Springfield intended! Every time the LEDs stopped working it was a
major job to start from scratch again and rebuild the lamps, re-site
them and test them only to find one not working then both not
working so I've put that aside for now.
The lining around the windows in brown is not an easy task. But I have found that using a very fine brush, cotton wool buds and turpentine substitute I can make a decent job of it. The etch has a very small channel around the windows which is the extremity of the lining. I first wipe this area with a cotton wool bud loaded with turps, (not too much). I then carefully follow the line with my brush loaded with a little paint. The turps allows the paint to 'run' into the channel and helps it flow onto the band around the window. if I make a mistake the cotton wool bud will remove the paint and I can do it again. This is the end result, click to see a larger image.

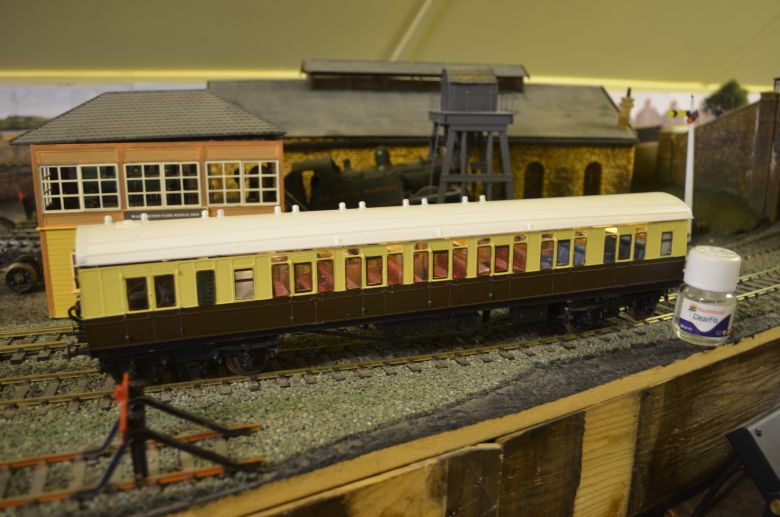
The windows have now been fixed in place using ClearFix. A strange sticky yet clear stuff from Humbrol. It wipes clear of windows if it oozes out and is largely left unseen. Here it is with the internal seating fitted. All that is left to do is lining lettering door handles and grab handles. Click for a larger view.
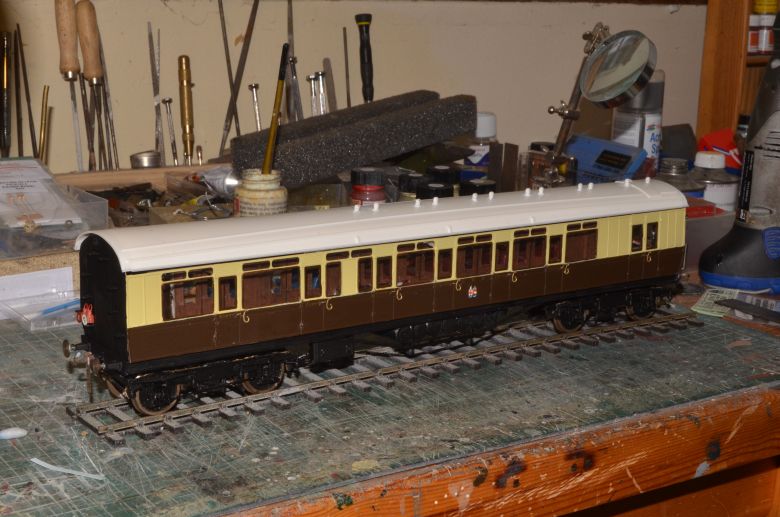
The door handles and grab handles along with the transfers have now been fitted. I used HMRS transfers and although they hold 'together' much better they are not easy to get square and if you decide to scrap one and start again careful scraping is necessary. I use cotton wool buds to wet the area first, then slide the transfer into place. Once correctly aligned, I press it down with a dry bud and finally wet the paper again ready to remove it to reveal the transfer. Here is the coach with my efforts:-
 .
.
Suppliers and products