O Gauge Modelling on the GWR
A personal Journey
Creating the TPO Coach
As stated in the introduction the coach has been sourced from two separate companies. As the chassis and bogie kits arrived I've concentrated on this to start with. But first a video of a mail coach working:-
This YouTube video gives a good insight to the workings coach side of TPO. Its time to concentrate on the coach now and the first part of this section of the project will concentrate on the chassis of the coach. Having used JLTRT parts the floor is plastic which is a boon in isolating the track pickups from the wheels. This means to me that I can use the American method of pickup which has worked so well on a number of my locos. The engine has isolated wheels on the right and the tender has isolated wheels on the left. With my coach this will be the front and rear bogies.
Here is close-up of one of the bogies. You can see where I have soldered the phosphor bronze strip on the axle and the rim of the wheel.

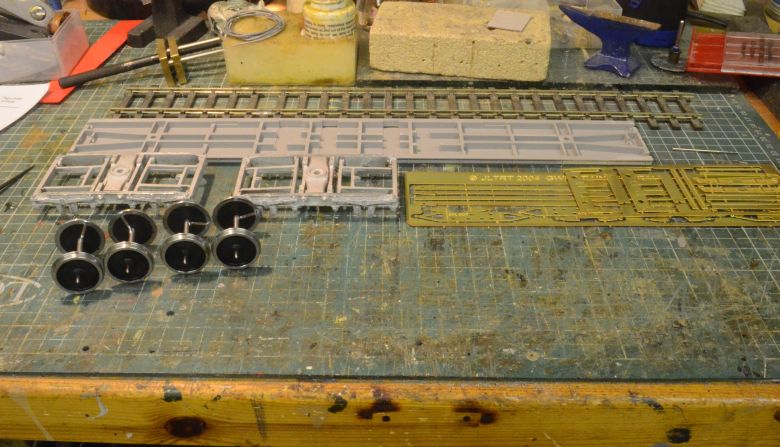
Here you can see the beginnings of the coach chassis. I have made up the whitemetal castings for the two bogies, also modified the bogie wheel sets with one side linked from the axle to the rim. You can see the plastic floor in the background to which the bogies will be fixed.
Here it is taking shape:

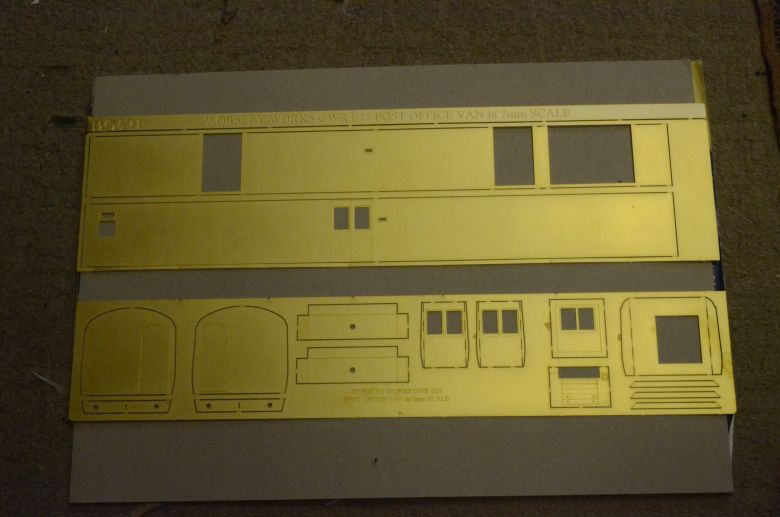
The coach sides have arrived:
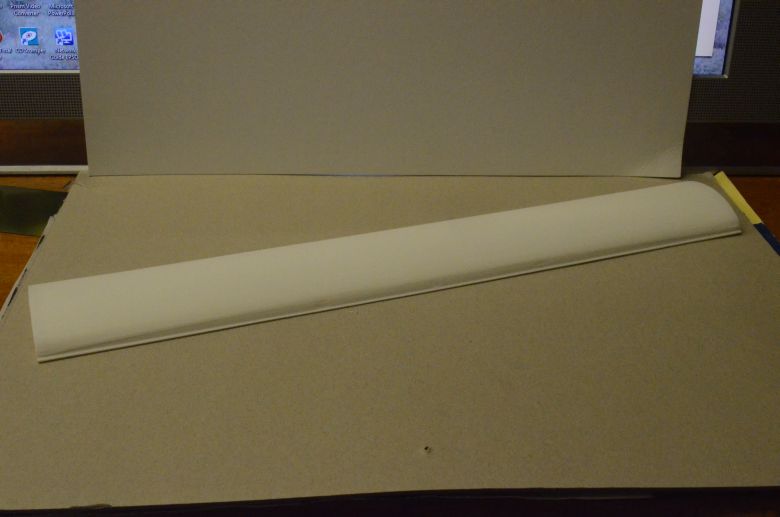
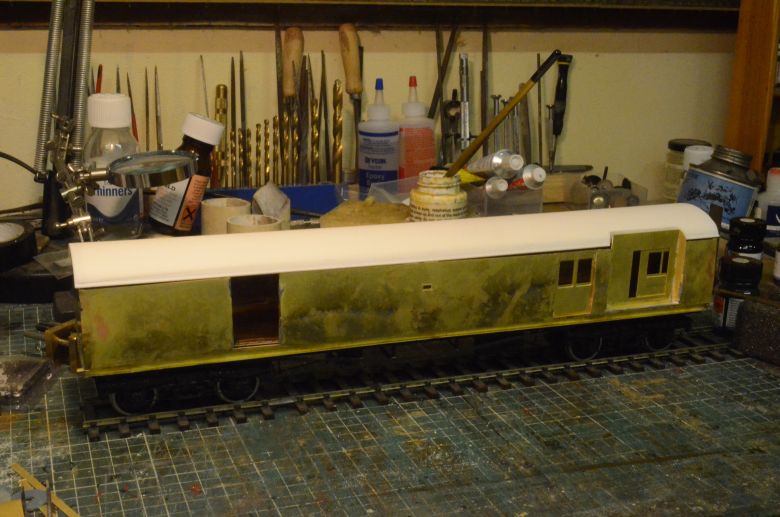
The roof needs some attention. The LMS rainstrips won't do for my GWR coach so they were filed off along with the small fillets down each side. as the roof is made of resin it was an easy job to modify it.
The sides and ends have been cut from the etch and the floor has been made up. This brass floor will sit on the resin chassis. It fits exactly after rubbing down the chassis to remove rivet detail. The LMS coach body is narrower than the GWR coach so this will enable me to get the proportions correct and support the body properly.
A relatively easy job to solder the sides and ends onto the floor. The etches are solid and well measured.
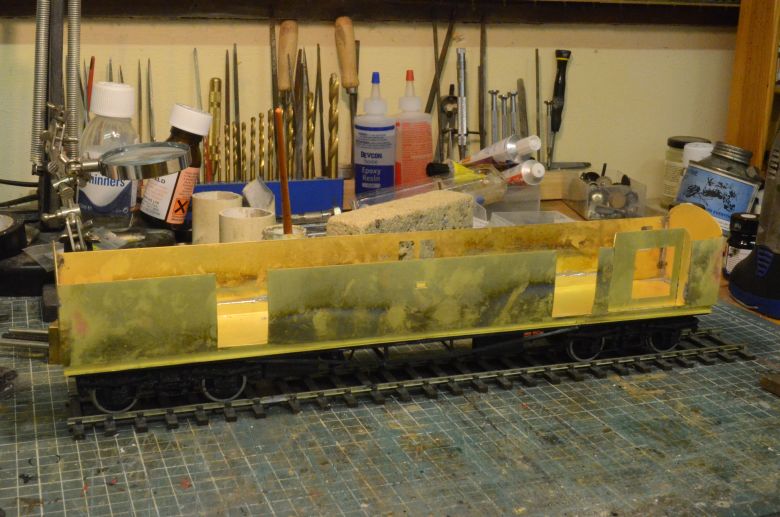
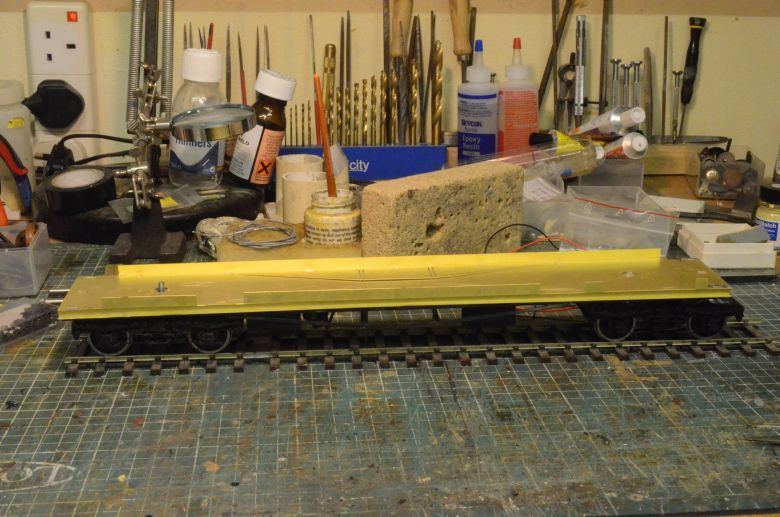
There's a lot of talk on forums about the quality of kits and build quality but i have to take my hat off to Worsley works and JLTRT because the two come together perfectly. Its always difficult when you source from two completely different suppliers that the parts will fit. Even within the same kit from one supplier I had problems making things fit. But Allen Doherty has done a super job in creating the sides of the coach for me. The roof fits and the chassis and Allens floor are perfect for each other. Well done to both!! Here's the proof:
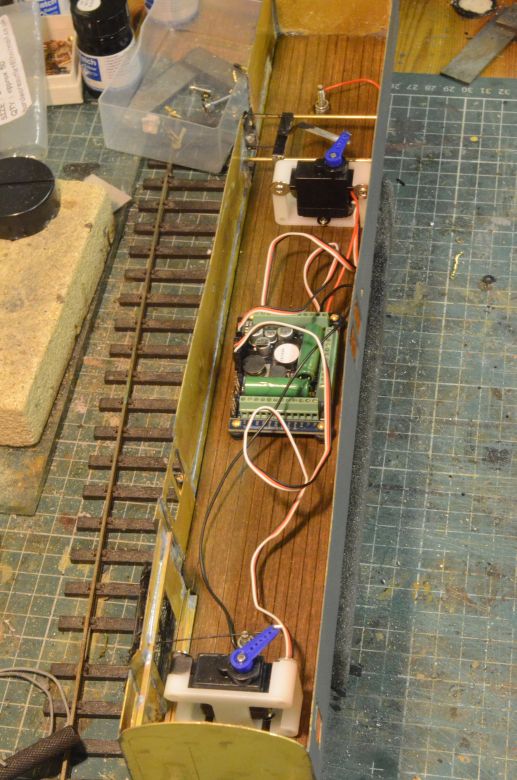
The chassis was too high using the JLTRT chassis as was. It had also bowed and in trying to flex it it broke as detailed in the introduction. So I cut out the two bogie sections and honed them down to fit almost flush in the body floor. I also used Allen's floor stretchers and the bits from the other chassis to complete the underneath. Over the brass floor I put a wooden floor glued down so that the servo frames could be screwed in place. Having made up a cardboard floor previously with the marks for the servos in it I transferred those to the new wooden floor. The underneath was repainted matt black and the sides given a scrub of grey as a base coat.
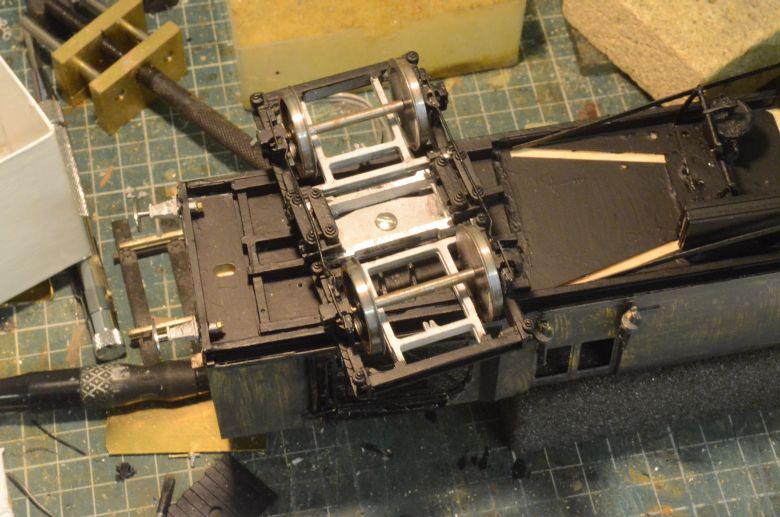
I've turned the bogie through 90 degrees so you can see the remains of the resin chassis that I used. Same treatment for both bogies. With an enlarged hole in the brass floor this ensured isolation of the bogies. I created a new floor from a sheet of lime wood rather than card as this was to grip the retaining screws that the brackets on the servos use.
Here is the coach innards reassembled. its now much sturdier and the buffers are aligned with other coaching stock whereas before it was riding too high.
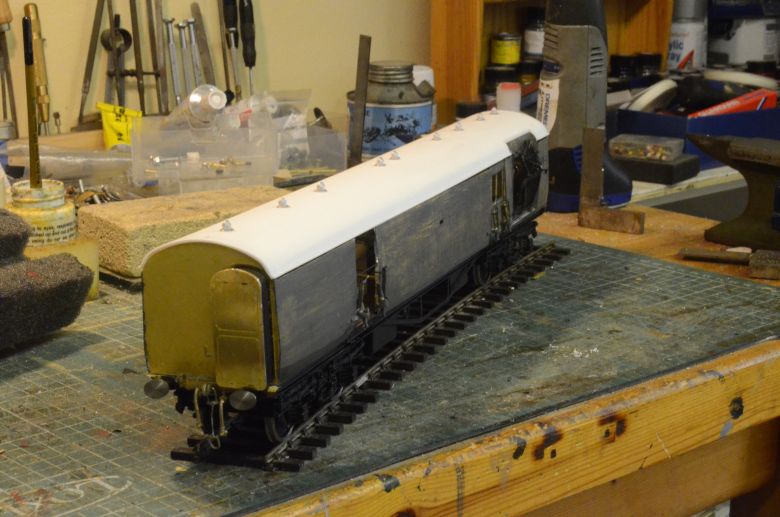
This is the latest picture of the TPO. A strengthening strut was soldered across the net doorway to allow the roof to seat properly on the walls. The corridor connectors have been put in place as have the vacuum and heating cables and the roof vents have been stuck in position. The coach was successfully towed around the railway without any derailments.
The interior
I have put in two sets of LED strip lights at the back of the coach. One for the net area where a post worker will be watching the proceedings. A second area next to the rear traductor doors where a post worker will be seen 'sorting' letters. and at the front a kneeling post worker attending to the bags on the traductors.
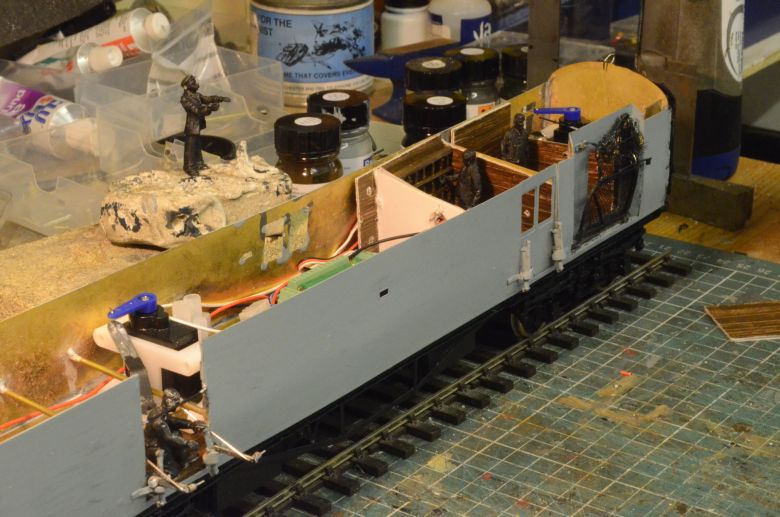
I don't think I'll be using the zombie post worker in the background though its not a ghost train! Click on the images for a larger version.
This view shows the lighting arrangement. More detail on how I got these to work are in the working section of the TPO area.
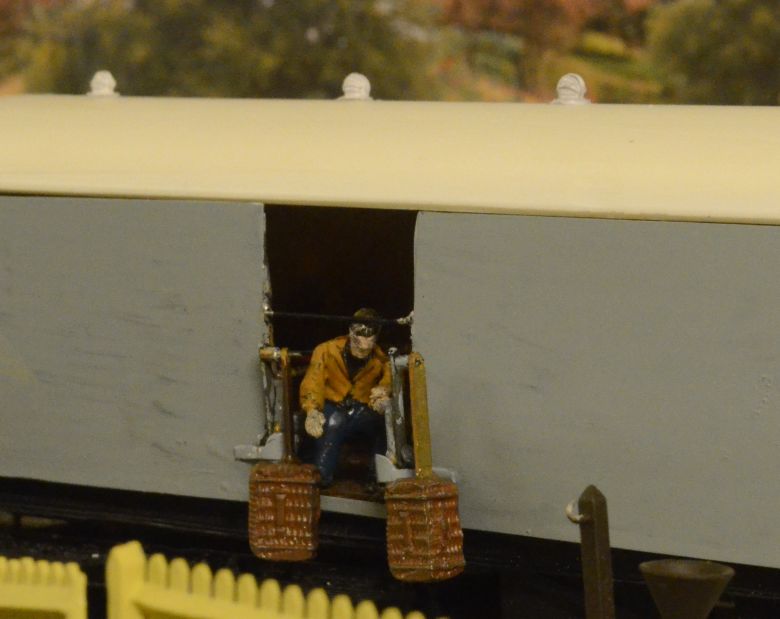
Here at the front end of the coach the post worker is loading and securing the bags onto the traductors.

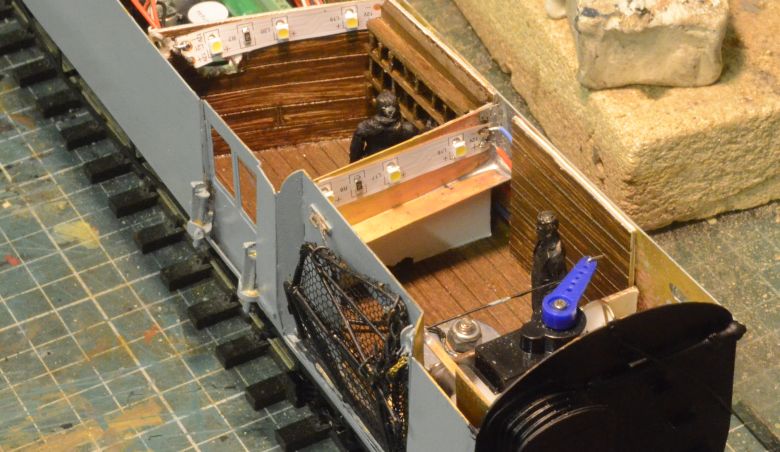
Looking through the windows you can see the post being sorted! And at the rear is someone waiting for the bags to be deposited into the net, (at a safe distance!).
And here is a snippet of the coach on trials: