O Gauge Modelling on the GWR
A personal Journey
Building a 4-4-0 County
I've already made inroads into creating this loco of which no real life examples remain. To date the chassis is almost complete.

I used Slaters wheels. The main issue at the moment is that I was given the wrong wheel sets at the time and I have now reordered a fresh set of the correct wheels with cranks built into the drivers. The confusion was with Slaters thinking I was building an outside crank 4-4-0 like City of Truro, which I was at the time, but not the later 4-4-0 County type and as I was not going to start it for some time this oversight on both our parts passed unnoticed until now, (thought I could save myself some time, money and effort if I cobbled what I had to make it work - a big mistake!). So hopefully the correct wheel set will arrive shortly.
While I'm on about errors of judgement. i notice that most pictures of the County of bedford show a round front frame and round cab foot as shown here:

As my model has the square frontage and inline cab foot I will have to select another name for it. But lets face it not an issue as most of the RTR examples have the C of B nameboard!
However when its finished it will be named "County of Cardigan"
The body however is completely David's and is shown here in its current state.
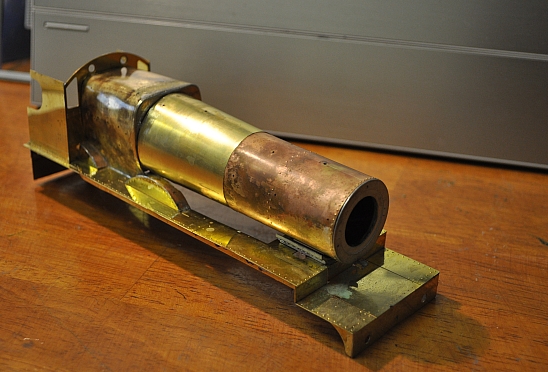
The rear view shows up more detail. I use a combination of soldering iron and blow torch to put all of the bits together and the odd spot of epoxy. The boiler and firebox are bolted together. Looking at the rear it looks like I haven't quite got the rear splasher square!
I'm not going to give a blow by blow account of how its put together because magazines are stuffed full of this with the usual critical comments about this and that not matching up with the whatever. With of course the occasional platitude of how good the kit is and how easy it is to put together, etc, etc. What's important in my book is: was it a challenge, did you complete it and did it give you satisfaction both during making it and when finished. Here is another image of it now with the correct wheels and the body nearly finished.
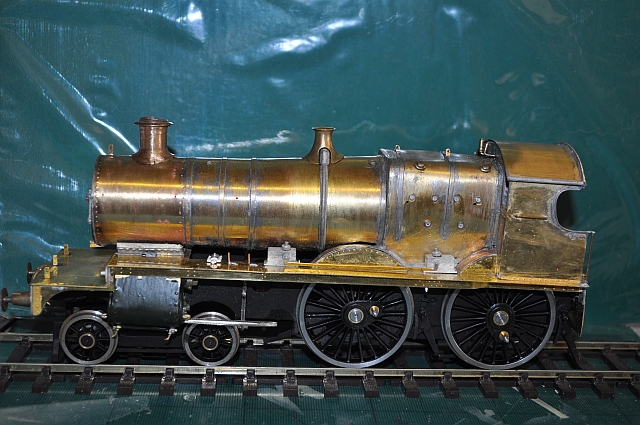 The body looks as if its tilting up at the front and it is
because the sprung bogie and the horn blocks on the front driving
wheels are doing their job. Once more weight is applied inside the
boiler at the front to bring all back to earth it will look and be
ok.
The body looks as if its tilting up at the front and it is
because the sprung bogie and the horn blocks on the front driving
wheels are doing their job. Once more weight is applied inside the
boiler at the front to bring all back to earth it will look and be
ok.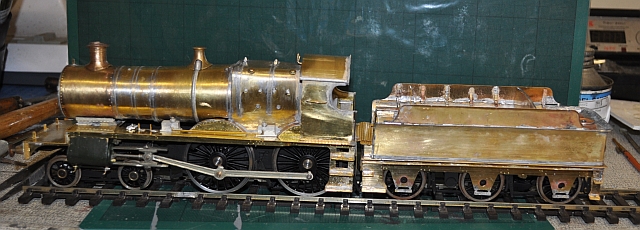
The tender is finally taking shape. had to undo a lot of work as the chassis became slightly twisted, then straighten it and rebuild but all is now ok. Having made a couple of these tenders i still don't get the curve of the top side of the coal retaining walls right, usually too much and its a good exercise to put all the bits in place before committing them to solder so that you get everything fitting correctly. Sometimes the order in which the parts are described in the instructions needs modifying and this is especially true of getting the parts to fit snuggly is concerned.
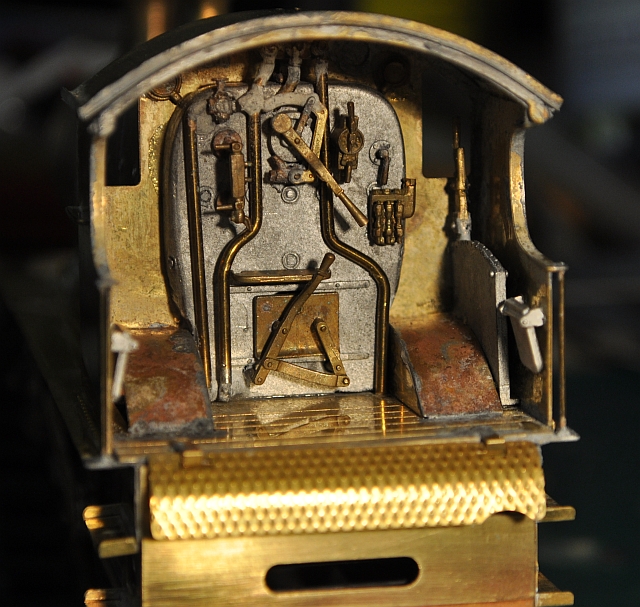
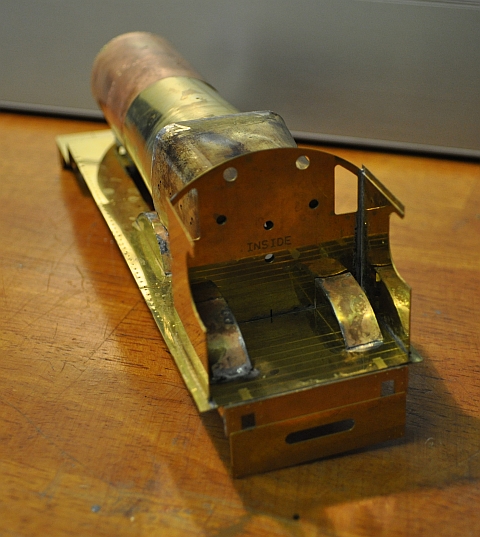
This view of the interior of the cab show the internal detail. I used slightly larger dia brass rod for the pipe work.
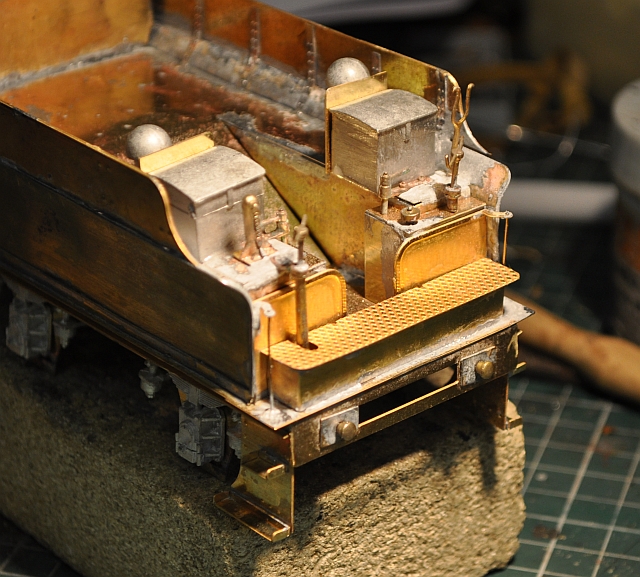
Here the detail of the tender.

The body has had a couple of coats of green and the tender likewise. Still a lot to do though. The electrical feed will be through the wheels so that the loco LH wheels and Tender RH wheels act as collectors. This will necessitate modifying the whels concerned. More on that later.
4-4-0 Loco build
Another plunge into the world of building a loco from the past that has no remaining example today.