My O Gauge Journal on
Modelling the GWR
A personal Journey
Applying transfers
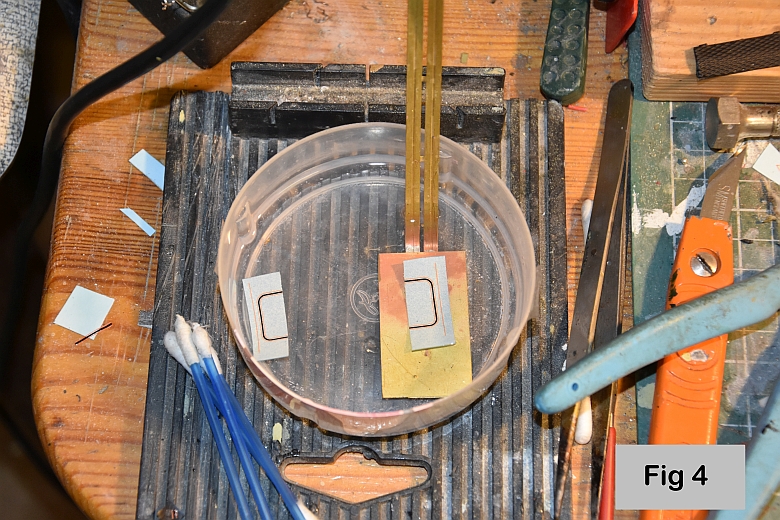
a) First, in goes the piece of transfer and it begins to soak up
water. To remove the
transfer from the bath I use a specially made spatula to lift it
out, (Fig 4). I tilt the spatula to allow the water to run off it
leaving the transfer ready for me to hold it by a corner with
tweezers. Make sure that you only hold the paper and not catch the
outlying invisible bits of the transfer.
b) Second, to apply the transfer to the body,
position the backing paper so that one part of the transfer can be
slid off it and held with the cocktail stick on to the body in
roughly the correct starting point. Then pull the backing paper away
carefully threading the transfer as it does so onto the body, not
the other way round, (if you pull the transfer off the backing paper
it will stick to the loco body before it’s all off and then you will
need a third hand to apply water to it!) . Once the transfer is on
the body use a little water to keep the transfer moveable, and use
the cocktail stick to tease it slowly and carefully into the right
position. The transfer will complain as it is coaxed whether it is a
straight or a curved piece, and will tend to show a series of little
‘kinks’ along its edges, ignore this and move along the transfer
pushing it gently into position. As it regains its shape the kinks
should disappear. Getting straight bits straight is not easy as the
transfer will tend to follow the surface of the body and any
unevenness can make it snake slightly. Keep adjusting it bit by bit;
keep using water, (but not too much), until you are satisfied with
the look of it. Then using the cotton wool buds roll carefully over
the transfer to remove all the water. Dabbing is also permissible,
beware if you drag one across your transfer or make any sudden
moves, you run the risk of displacing your good work!