O Gauge Modelling on the GWR
A personal Journey
Creating a major dividing section on the layout.
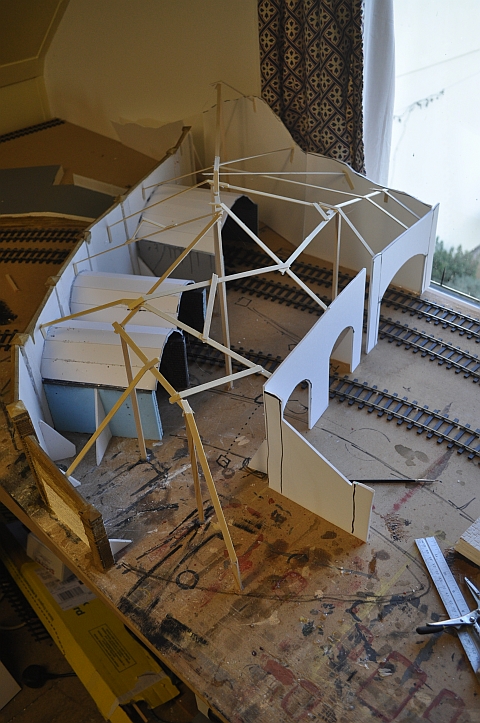
As you can see from this image I started with a small section. The left hand tunnel mouths are all set in place and come from Townstreet. I used the plastcard to form up the other mouths which I will also get from Townstreet but it quickly became clear that this section needed to be bigger to be believable. No problem, as I have plenty of space here!
 |
Starting to form the contours of the mountain area using square
section 5mm wood hot-glue gunned to the board and then connecting them
with thin strips of wood in a similar way to make a spiders web. On this
I will stick kitchen roll impregnated with diluted PVA to form a
flexible yet tough skin. Sometimes interspersed with newspaper strips
where added strength is required. I decided to remove the right hand formers and make the tunnels lengthier so that a believable mountain could be created. |
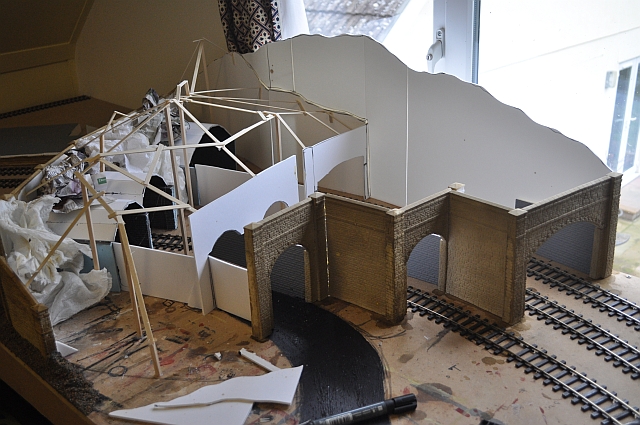 |
I have resited the new tunnel mouths and decided to stagger them.
This will add more interest and cut down on the amount of space needed
to see the range once completed. This also makes more sense as it is
being built on a curve. As a final consideration I can get my arm inside
to clean/clear the tracks if needed! You can see where the original tunnel mouths were due to end. At this point I put in divider sides for each tunnel and 'blacked' out the tracks with paint as I will gravel them only til just inside the tunnel mouths. |
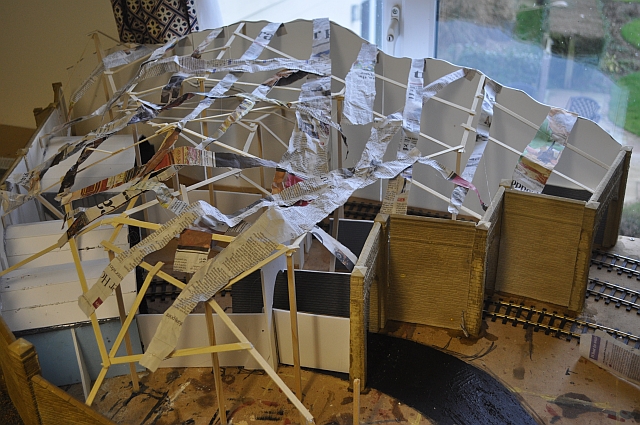 |
I mentioned the use of newspaper strips to strengthen the web. On top of this I put kitchen roll torn in half and pasted over with a dilute PVA mix. You can add colour at this time to make it easier to hide the final coats of paint, gravel and grass which I will apply. A good reason for not using plaster or the stuff they make casts for broken limbs as it will chip and the white shows through!! |
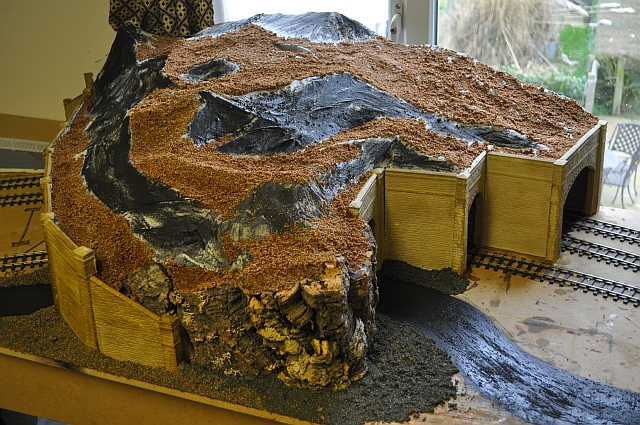 |
Instead of trying to mould something into the gap between the two edges of the tunnel walls I used some old bark I've had for several years. Carefully cutting and shaping it has made a cliff edge which isn't too bad. The flatter areas of the mountain have had grit applied to them but the more vertical faces will have a stone finish. At this time I merely scrub dark paint onto those faces to give me an idea of what it could develop into. Remember I like to think of it as a painting and the brown areas will be painted and then grassed over. |
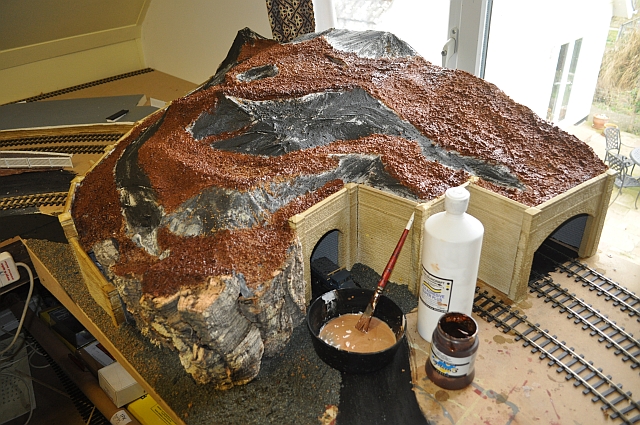 |
Once the grit has dried, (over night or longer if there are deep patches). I then apply brown acrylic paint mixed with a water/PVA mixture to fill in allthe bits not covered by the grit itself. the analogy I use is that grass grows on soil so I will make it look like that! The paint is applied in a swirling motion so that it covers almost all of my previous work. The aded PVA will also help to make the covering over the wooden strips stronger, slightly flexible and light. |
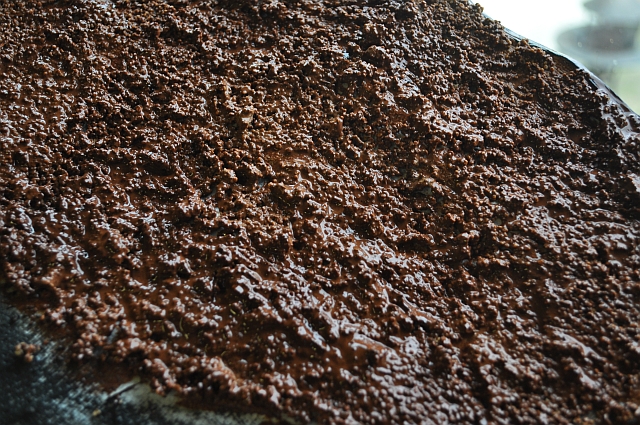 |
Here is a close up of the result, (still wet). You can see that the surface will be quite rough with lumps and flats all over the place. This is how umkemp pasture looks llike and I will cover it once dried with another coating of PVA and then apply grass using the Hoch grassmaster. |
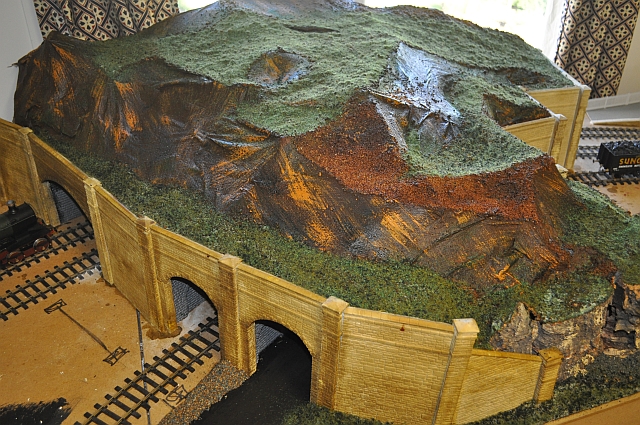 |
The Hoch Grassmaster comes into its own here. First I cover the area to be grassed with a 50/50 mixture of PVA and water. Then use the grassmaster to apply the grass. It uses static electricity to make the grass fibre stand up. My use of grit makes for an uneven clumpy surface and gives an acceptable result. The glue mixture will dry clear so any misses will only show patches of 'soil'. |
 |
Once dry this will form the base for adding shrubs, trees, fences
sheep etc. But I will wait till more scenery round and about is
completed before making the final decision. A cautionary word here. I found that the double mouthed tunnel on the inside curve fouled a couple of my longer coaches. The straight ahead clearance was fine but on a curve coaches will overhang. I had to carve out sections of brickwork insitu and as luck would have it, it cannot be seen except by passengers in the coaches themselves! The cliffs now look the part. The inside track runs round a tight curve to the coal mine. Even my 0-6-0 pannier can't make the later parts of the bend into the mine without derailling itself. But I will have an 0-4-0 kit in a months time from Agenora models to build which will be the mines' work horse. This will have the job of shunting the coal trucks etc, to and from the passover siding. |
Scenary
separating parts of the layout with believable constructions.