O Gauge Modelling on the GWR
A personal Journey
Point Switch Indicators
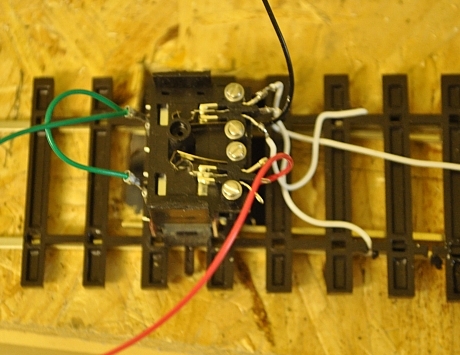
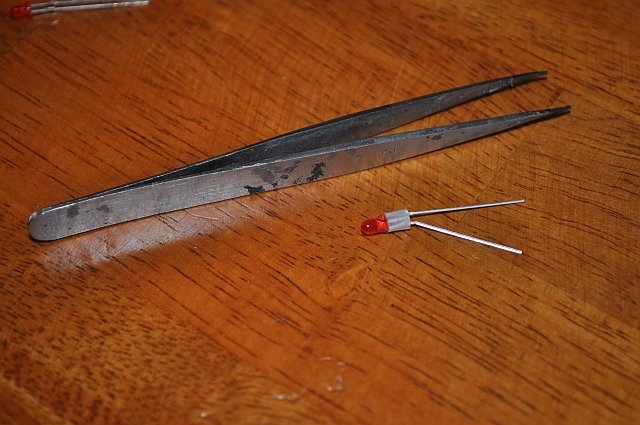
The micro switches I've used under my points have two micro switches. One I have used to control the polarity of the frog and rails to make sure that electrical contact is the best it can be. The other switch is to be used in conjunction with a switch indicator box to show how each point is placed. This is not a good picture as it looks like the red lead is connected to the middle of the lower micro switch. It actually isn't as it goes underneath to control the point solenoid. This micro switch will control two LEDs to show which road the point is switched to.
Here is one of the indicator boxes. Made out of Plasticard and hot glue gunned together. Its a light item that will fir next to the numbered point switches on my layout. I will need three boxes but more of them later. For now I have used red LEDs that fir into Chrome panel holders. The holders and LEDs are 3mm and require a resistor to be attached on their negative leg to make them work, ( the -'ve leg is the shorter one). I bought the holders from Goodwillsales Ltd on ebay - a brilliant firm and the LEDs from BrightComponents, (also on ebay). As I needed 68 I chose the cheapest options, (you can buy LEDs with the resistor already insitu but they cost a lot more).
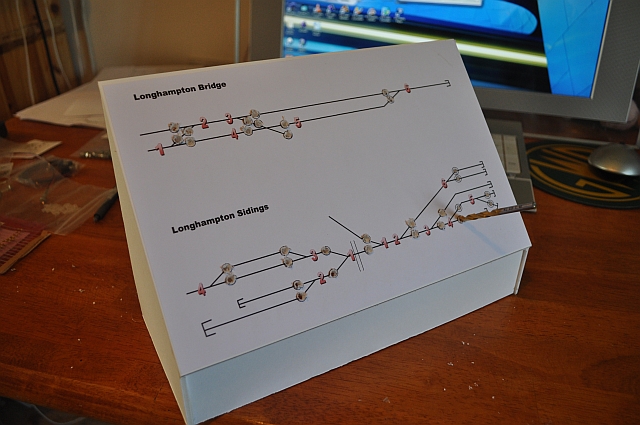
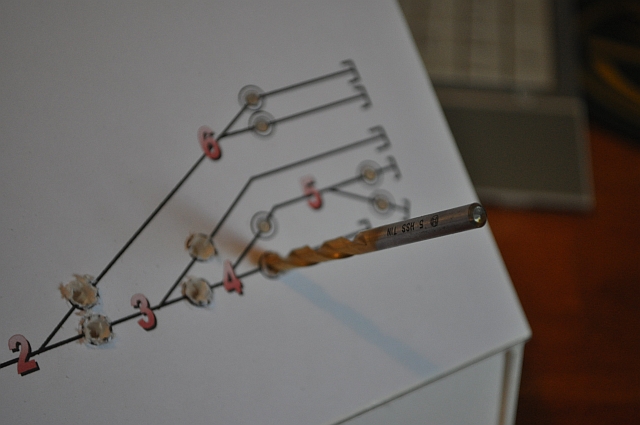
I drew a diagram of the points on the computer and numbered them. Also put a circle where the LEDs would go. (this was done in Irfanview a free program).
My LEDs came with resistors. The holders came with little plastic inserts to hold them in place in the holder. You need to put the two together first.
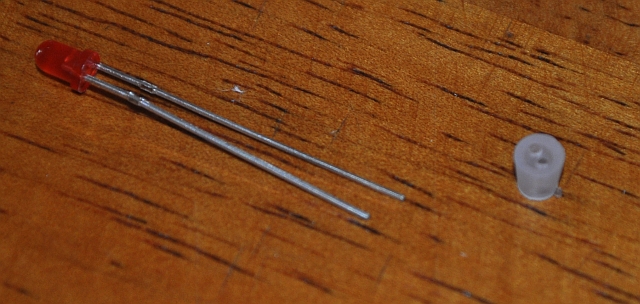
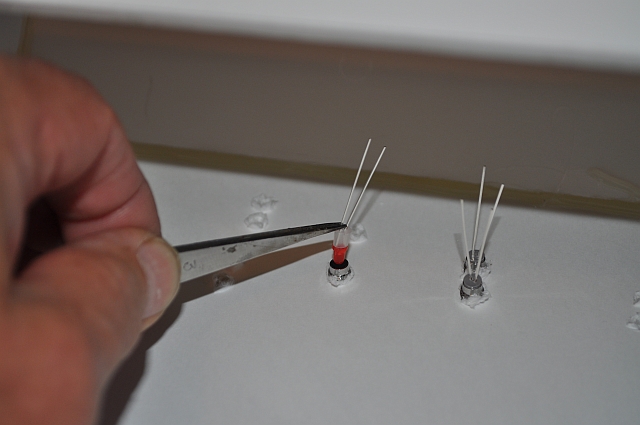
Having pushed the plastic cup over the legs of the LED I bend the -'ve one slightly ready to have the resistor soldered to it after it has been placed in the holder
I push the LED into the holder and its a good fit.
To finish this section off all the negatives are then soldered to a common feed. I've applied the same technique to the upgraded consuls mentioned later on. Here is a replacement.
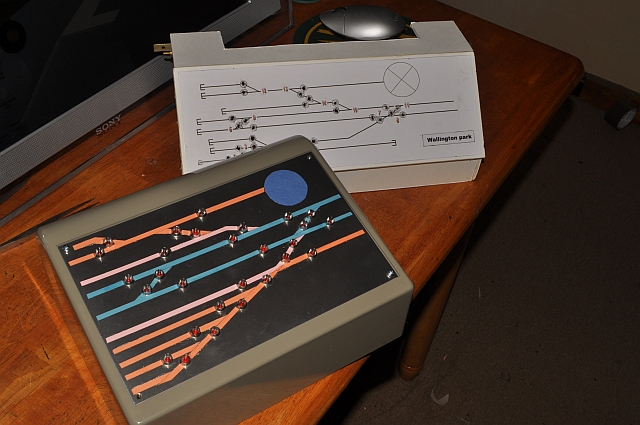
I now have a much better arrangement for the point switch indicators supplied from Rapid Electronics as shown here. The Aluminium faces allow for accurate drilling of the LED holders and then thin strips of coloured card were stuck to show track arrangements, (the blue circle on this panel is the turntable on the layout).